Evaluating Your Roof After a Kona Low Storm
· R&C Roofing Contractors
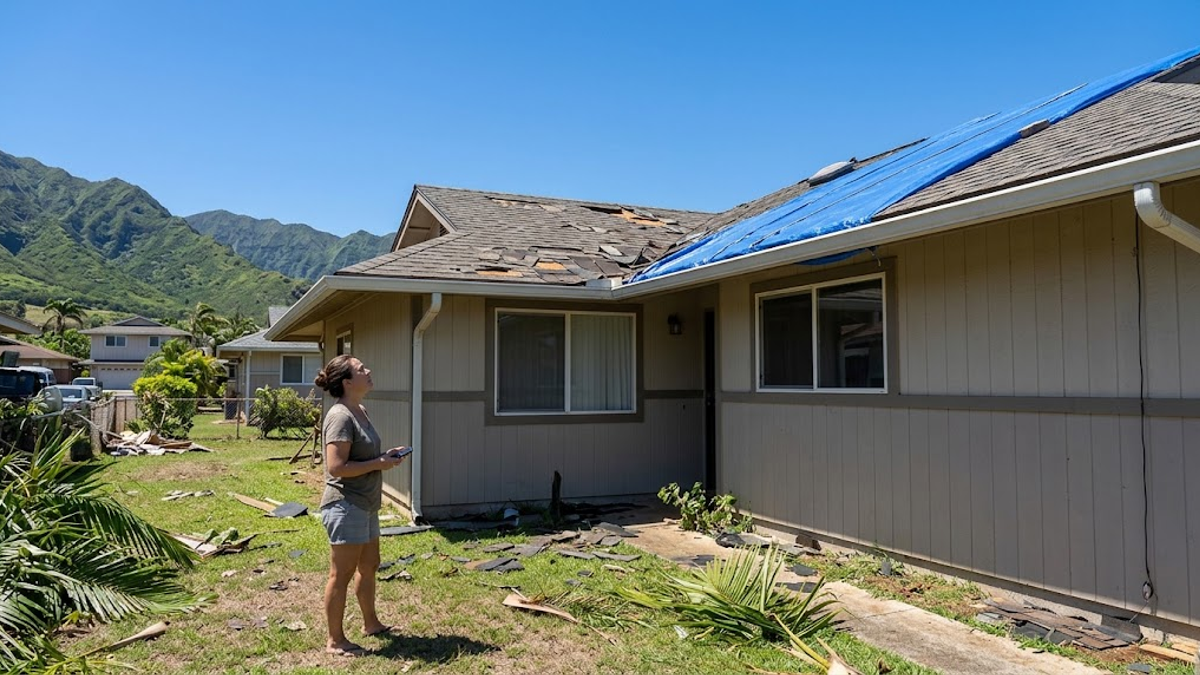
Kona Lows bring a different kind of weather to Oahu. Instead of the usual northeast trade winds, these systems often approach from the south or southwest. They can deliver sustained high winds, intense rainfall, and debris from directions many roofs are less prepared to handle. Once the system passes and the skies clear, the first instinct is to look up at the roof. That is useful, but only if it is done safely from the ground.
Climbing onto a wet or wind-damaged roof is one of the fastest ways to turn a storm problem into a personal injury. This guide walks you through a practical ground-level visual checklist. It helps you gather useful observations without taking unnecessary risks. The goal is clarity, not panic. Many roofs come through these storms with only minor issues or no structural damage at all.
Why Kona Lows Affect Roofs Differently
Trade winds usually push against the same roof slopes day after day. Kona systems reverse that pattern. Wind can lift shingles from the opposite direction, stress flashing around vents and chimneys that rarely face that force, and drive rain into seams that normally stay dry. Heavy rain can also overwhelm gutters and valleys, sending water over the eaves and against the siding.
Debris is another common factor. Branches, coconuts, and other airborne material can strike the roof surface. Even small impacts may crease or crack materials in ways that are hard to see from the street but still allow water to enter later.
Not every home experiences the same exposure. A house in a protected valley may see mainly heavy rain, while a property on an open ridge or near the coast may take the full force of the wind. The checklist below works for all of these situations because it focuses on what you can observe safely from the ground.
Safety First: Stay on the Ground
Do not climb a ladder onto the roof after a storm. Surfaces can be slick, materials may be loosened, and debris can shift underfoot. Stay clear of any downed power lines and report them to the utility company. If you smell gas, leave the area and call from a safe distance.
Use binoculars or the zoom function on your phone if you need a closer look at higher sections. Walk the full perimeter of the house on solid ground. Take dated photographs of anything that looks out of place. These photos become useful records if you later decide to file an insurance claim or request a professional evaluation.
Ground-Level Visual Checklist
Walk slowly around the entire house. Check each side, then the yard and the interior ceiling areas you can reach safely.
Roof Surface and Edges
Look for missing, lifted, or creased shingles. Pay special attention to the edges, ridges, and the sides that faced the strongest wind. On metal roofs, watch for dents, loose panels, or fasteners that appear backed out. Note any areas where the roof surface looks uneven or sagging.
Valleys, Flashing, and Penetrations
Valleys collect large volumes of water. Look for debris jammed in the valleys or metal flashing that appears bent or pulled away. Check around vents, pipes, skylights, and solar mounts for displaced or loose metal. These transition points are common locations for wind-driven rain to enter.
Gutters and Downspouts
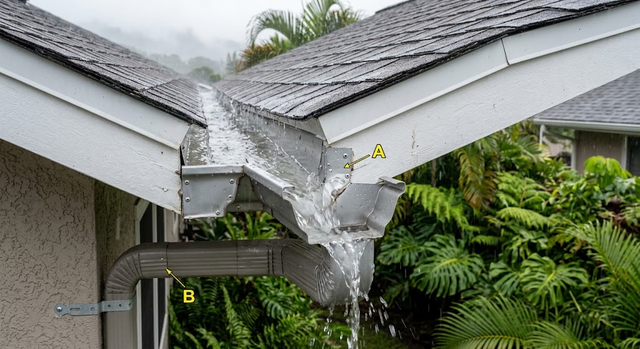
Inspect gutters for dents, separation from the fascia, or sections that have pulled free. Look for large amounts of granules or roofing debris collected at the outlets. Confirm that downspouts are still attached and directing water away from the foundation.
Yard and Ground Evidence
Walk the lawn, driveway, and planting beds. Collect any shingle pieces, granules, or metal fragments. A concentration of granules near downspout outlets after a storm can indicate surface wear higher up. Note any large branches or debris that may have struck the roof and then fallen.
Interior Clues
From inside the house, look at ceilings and upper walls for new stains, drips, or discoloration. Check the attic only if you can do so safely from a stable ladder and without stepping onto damaged areas. Fresh water marks or damp insulation are signs that water has already entered.
| Observation | What It May Indicate | Recommended Next Step |
|---|---|---|
| Missing or lifted shingles | Wind uplift or adhesive failure | Document with photos; request professional inspection |
| Bent or loose flashing | Wind or debris impact at transitions | Note locations; have a licensed contractor evaluate |
| Granules or debris in yard/gutters | Surface wear or impact damage | Photograph piles; compare to pre-storm condition if possible |
| New ceiling stains | Water has already entered | Protect belongings; schedule inspection promptly |
| Sagging roofline or uneven plane | Possible structural movement | Stay clear; call a licensed contractor immediately |
| Detached gutters or downspouts | Wind force or overflow | Temporary measures to keep water away from foundation if safe |
What the Checklist Cannot Reveal
Ground-level observation catches the obvious problems. It cannot confirm whether the underlayment is intact, whether adhesive seals between shingles have failed across a wide area, or whether decking has been compromised. Wind can lift a shingle and set it back down, breaking the seal without leaving a clear visual gap from the ground. Those hidden failures often show up as leaks during the next significant rain.
That is why a professional inspection remains the reliable way to determine the actual condition. At R&C Roofing we perform post-storm evaluations that document visible conditions and distinguish recent storm effects from normal aging. Our inspectors are trained to identify these differences. You can learn more about the process on our roof inspections page.
When Documentation Supports an Insurance Claim
If you believe the storm caused damage that may be covered by your policy, clear records help. Photograph what you observe from the ground, note the date, and keep any debris that appears to have come from the roof. When you contact a licensed contractor, those photos give a starting point for the on-site evaluation.
We provide contractor-side documentation of visible roof conditions. We do not act as public adjusters, negotiate settlements, or guarantee claim outcomes. Your insurance carrier decides coverage based on the terms of your policy. Details on how we support the structural side of the process are available on our claims page.
If repairs are needed, our licensed crews can perform the work under Hawaii Contractor License CT-33642. The full range of residential services we offer appears on our services page.
Practical Next Steps After the Checklist
- 1.Complete the ground-level walk and take dated photos.
- 2.Note any interior signs of water entry and protect belongings if needed.
- 3.If you see missing materials, bent flashing, new stains, or a large amount of debris, schedule a professional inspection.
- 4.If the roof looks undisturbed and no interior signs appear, continue to monitor during the next rain and recheck from the ground.
Many roofs require only localized repair after a Kona Low. Some need no work at all. Starting with facts rather than assumptions keeps the response proportionate to the actual condition.
Frequently Asked Questions
How soon after a Kona Low should I check the roof?
Once the weather has cleared and conditions are safe to walk the property. There is no benefit to rushing onto wet or unstable surfaces.
Can I use a drone for a closer look?
If you own a drone and are comfortable operating it, aerial photos can supplement the ground-level check. They do not replace a professional inspection that includes hands-on evaluation of materials and fastening.
What if I find only a few missing shingles?
Document the locations and have a licensed contractor assess the surrounding area. Isolated damage is often repairable without a full replacement.
Should I file an insurance claim before the inspection?
A professional evaluation first gives you clear information about the physical condition. That information helps you decide whether filing a claim is warranted.
Do you inspect for storm damage specifically?
Yes. We evaluate visible roofing impacts after high winds or severe weather and provide documented findings for your records.
Get Clear Facts Before You Decide
A Kona Low can leave obvious signs or almost none. The ground-level checklist gives you a structured way to observe what is visible without taking risks. When those observations raise questions, or when you simply want confirmation, a licensed inspection supplies the missing detail.
Call R&C Roofing Contractors at (808) 888-2524 or request a free inspection and estimate through our contact page. We serve homeowners across Oahu. Inspections and estimates are free. Written reports for insurance or real estate purposes carry a separate fee that we quote before starting.